Components
Breadboard & Jumper Wire Set
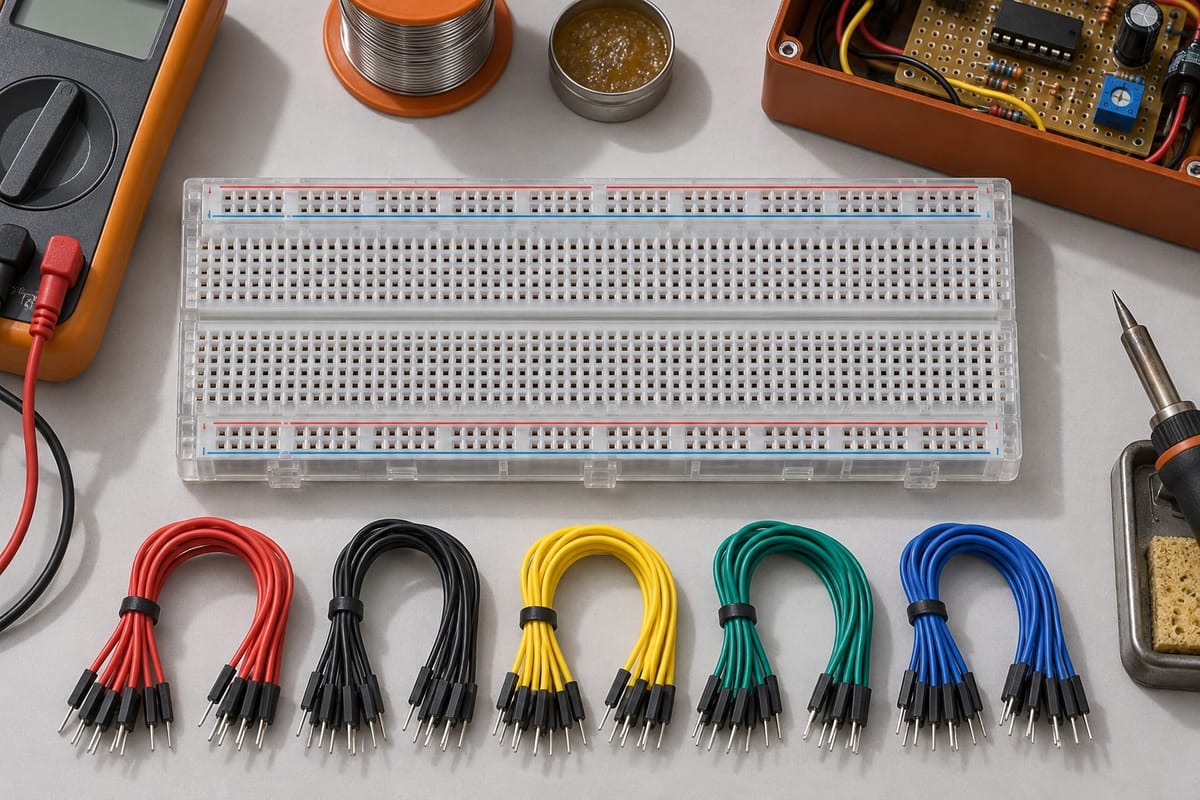
Test circuits, swap components, and iterate freely with this solderless prototyping kit. The 830-point breadboard gives you room to build, and 65 jumper wires in multiple lengths let you connect sensors, motors, and controllers without picking up a soldering iron.
- Tie points 830
- Jumper wires 65 pcs
- Compatibility Pi, Arduino, all boards
Why every maker needs a breadboard
Technical specifications
- Breadboard tie points
- 830
- Power rails
- 2 rows (top and bottom)
- Pitch
- 2.54 mm (0.1 in)
- Jumper wires included
- 65 pieces
- Wire lengths
- Multiple sizes for short and long connections
- Connector type
- Male-to-male solid core
- Compatible platforms
- Raspberry Pi, Arduino, ESP32, microcontrollers, discrete circuits
How makers use this kit
Students and beginners use breadboards to build textbook circuits—resistor ladders, LED blinkers, voltage dividers—without committing to solder. Every mistake is reversible, and every concept becomes hands-on.
- Test Ohm's law with real resistors and LEDs
- Build an astable multivibrator with a 555 timer
- Connect a pushbutton to a Raspberry Pi GPIO pin and write your first input script
Before you solder a sensor into a robot chassis or PCB, confirm it works. Breadboards let you wire an ultrasonic distance sensor or temperature module to your Pi, run the test code, and verify the readings in minutes.
- Check sensor pinout and voltage requirements
- Test I²C or SPI communication before finalizing the layout
- Swap pull-up resistors or capacitors until the signal is clean
Connect a motor driver board to your microcontroller, wire up a DC motor, and tune PWM duty cycles on the breadboard. Once the logic works, transfer the circuit to your robot.
- Test forward, reverse, and speed control signals
- Add flyback diodes and verify motor behavior under load
- Prototype dual-motor drive logic before soldering the final assembly
Using a breadboard in three steps
Common questions
Can I use this breadboard with both 3.3V and 5V logic?
Yes. The breadboard itself is passive—it only provides mechanical connections. Voltage compatibility depends on the components you insert. Keep 3.3V and 5V circuits separate, and use level shifters when connecting a Raspberry Pi (3.3V GPIO) to 5V Arduino-compatible modules.
What wire gauge works best with the breadboard?
22 AWG solid-core wire fits the standard 2.54 mm pitch holes and makes reliable contact. The included jumpers are already the right gauge. Avoid stranded wire—individual strands can bend, fray, or create intermittent connections.
How many components can I fit on an 830-point breadboard?
It depends on component size and layout. A typical small project—microcontroller breakout, a few sensors, and a handful of passive components—fits comfortably. For larger circuits, you can chain multiple breadboards or move to a custom PCB once the prototype is validated.
Do I need to buy additional jumper wires?
The 65 wires included cover most beginner and intermediate projects. If you're building a complex circuit with many connections, or if you prefer specific wire colors for clarity, you can add more jumpers later. Start with what's in the kit and expand as needed.
Can I solder components directly to the breadboard?
No. Breadboards are designed for temporary, solderless connections. Soldering will damage the plastic housing and internal spring contacts. Once your prototype works, transfer the design to a perfboard or custom PCB for permanent soldering.
Pair it with these components
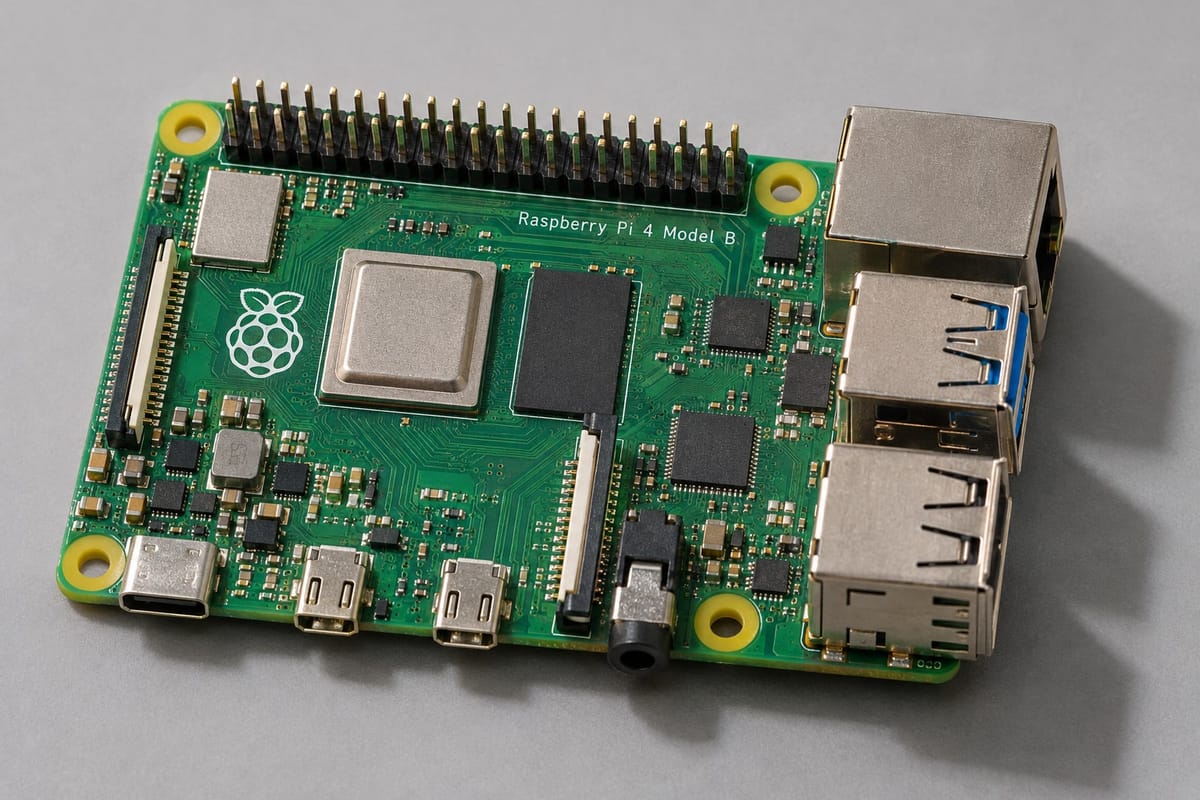
Raspberry Pi 4 Model B 8GB
The most capable Raspberry Pi board yet. 8GB RAM handles computer vision pipelines, neural network inference, and simultaneous sensor streams—ideal for advanced robotics and AI projects.
Read more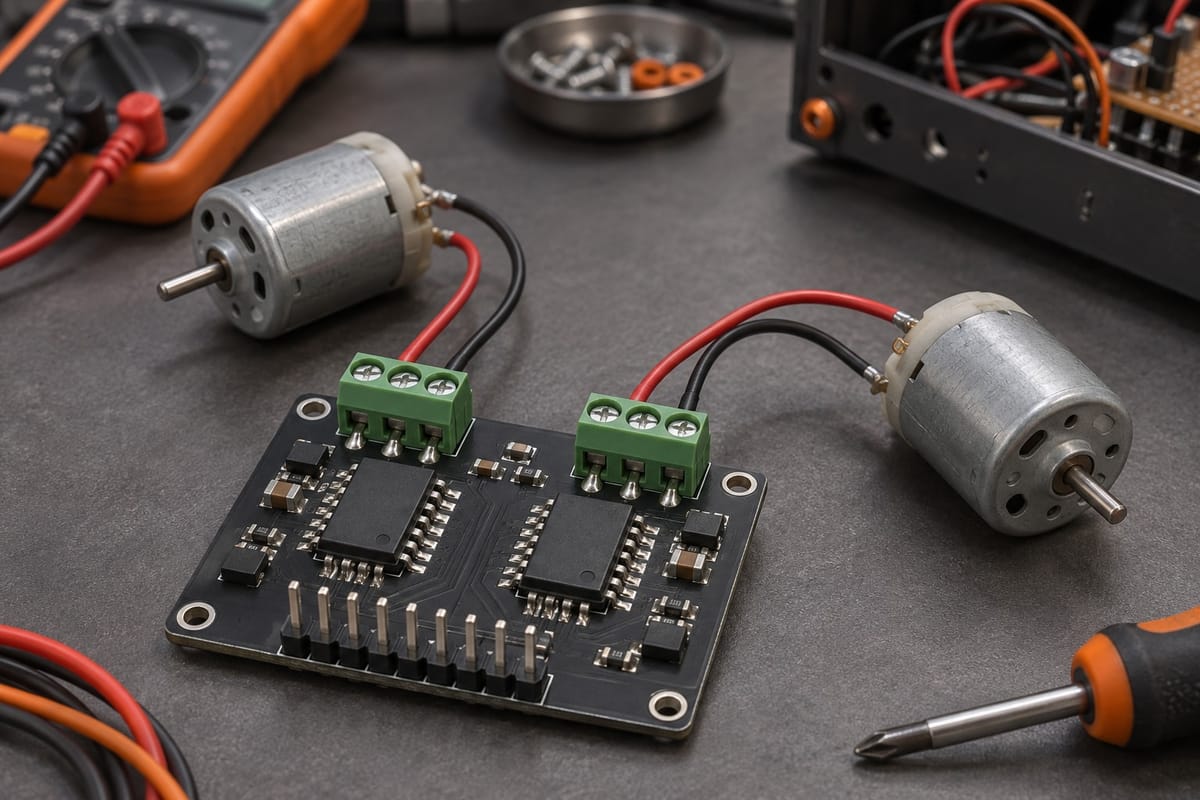
Dual H-Bridge Motor Driver
Drive two DC motors independently with PWM speed control up to 2A per channel. Works seamlessly with Raspberry Pi and Arduino projects, ideal for wheeled robots and automated mechanisms.
Read more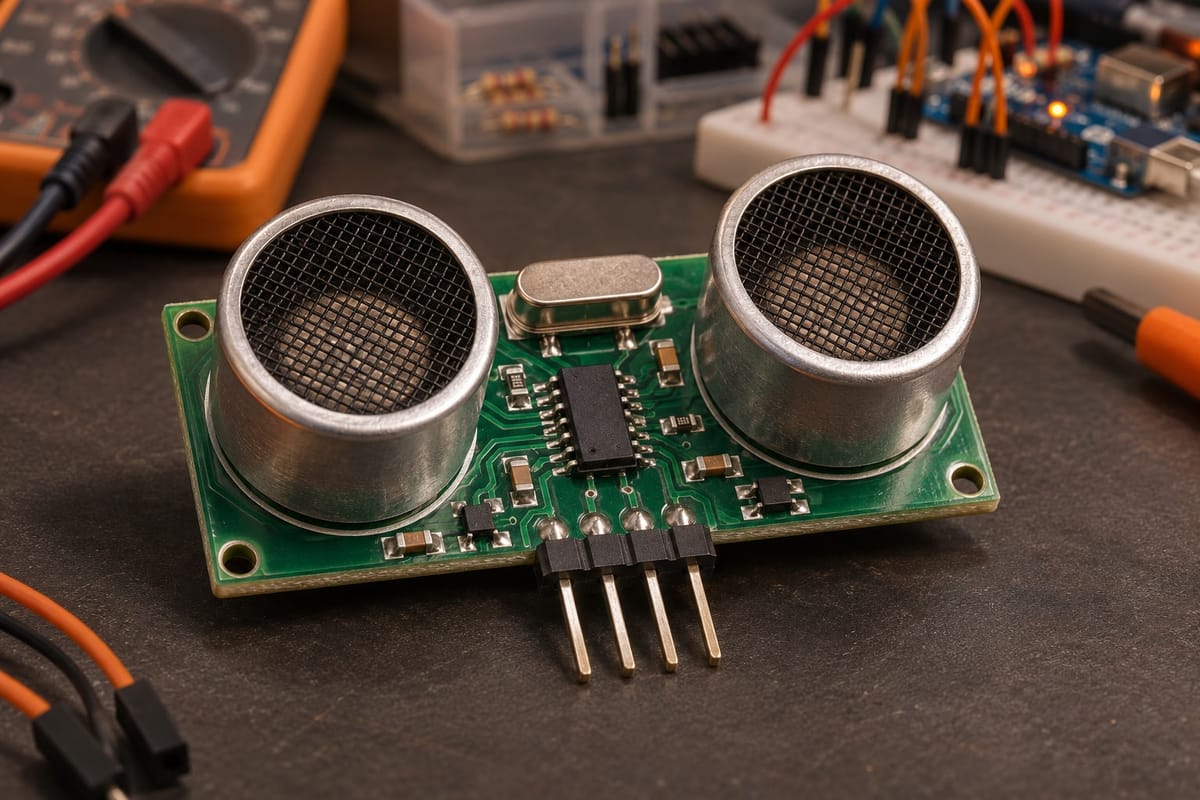
Ultrasonic Distance Sensor HC-SR04
Ultrasonic distance sensor with 4-meter range. Easy GPIO wiring, accurate obstacle detection, and universal microcontroller compatibility for robotics projects.
Read more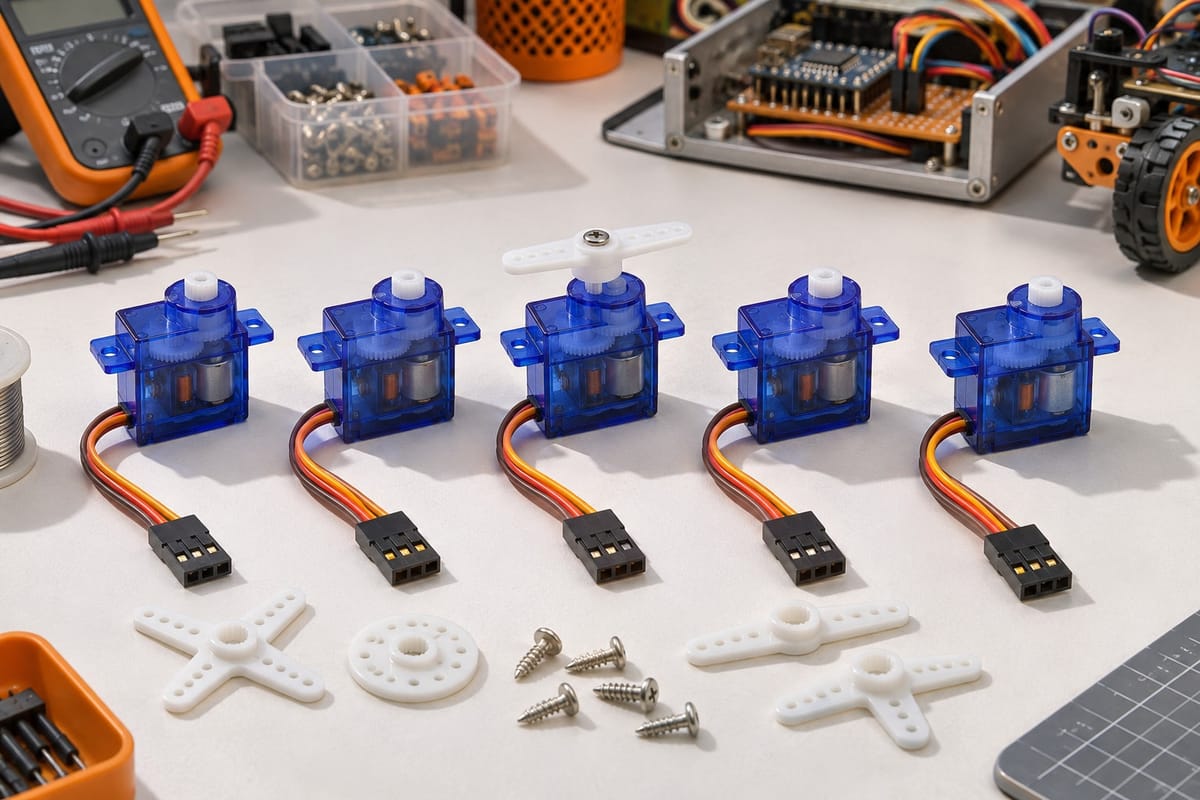
SG90 Servo Motor 5-Pack
Pack of five SG90 micro servos delivering 180° rotation with analog control. Ideal for robotic arms, pan-tilt camera mounts, and articulated joints in Raspberry Pi and Arduino builds.
Read more